
Nothing frustrates homeowners more than staring at unsightly bare spots scattered across their once-beautiful lawn. Patchy grass can turn your outdoor paradise into an eyesore, affecting both curb appeal and property value. However, transforming those stubborn bare patches into lush, green grass doesn’t have to be a daunting task. Whether you’re dealing with pet damage, heavy foot traffic, or seasonal stress, the right approach can restore your lawn’s health and beauty. This comprehensive guide will walk you through proven methods to repair patchy areas, prevent future damage, and maintain a thriving lawn year-round.
Understanding Why Your Grass Develops Patchy Areas
Common Causes Behind Lawn Bare Spots and Thinning Areas
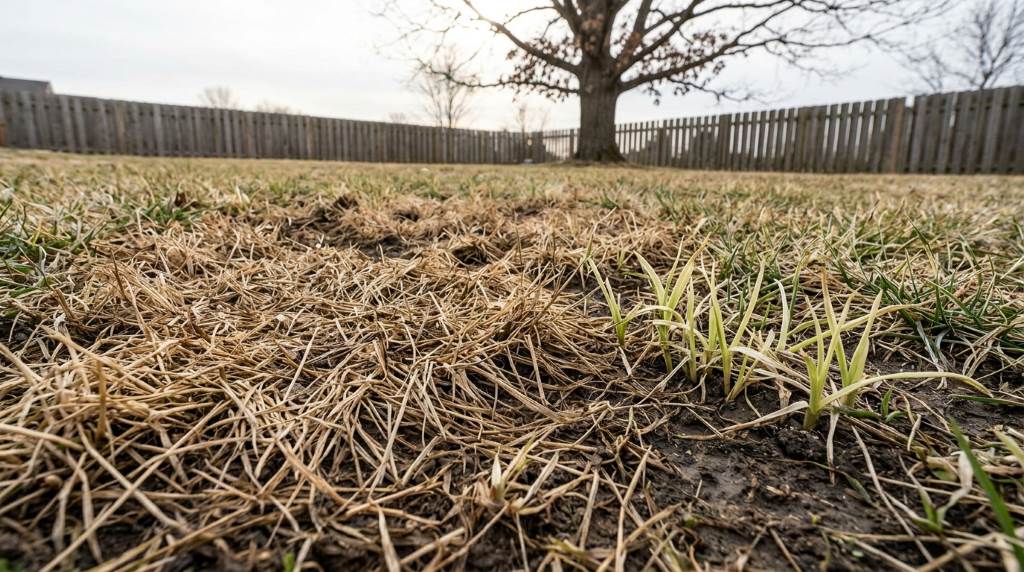
Several factors contribute to patchy grass development in residential lawns. Heavy foot traffic ranks among the leading causes, as constant pressure compacts soil and damages grass roots. Pet urine creates chemical burns that kill grass in concentrated spots, leaving circular bare patches.
Additionally, fungal diseases like brown patch and dollar spot create irregular dead zones during humid conditions. Poor drainage leads to waterlogged soil, suffocating grass roots and creating muddy patches. Insect infestations, particularly grubs, feed on grass roots underground, causing sections to die and lift easily from the soil.
Environmental Factors That Contribute to Grass Damage
Weather extremes significantly impact lawn health and contribute to patchy conditions. Drought stress weakens grass, making it vulnerable to disease and pest damage. Conversely, excessive moisture promotes fungal growth and root rot in poorly drained areas.
Shade from trees or structures limits photosynthesis, creating thin, weak grass that easily develops bare spots. Soil compaction from heavy machinery or repeated foot traffic prevents proper root development. Therefore, understanding these environmental challenges helps homeowners develop targeted solutions for their specific lawn conditions.
Essential Tools and Materials for Grass Repair Projects
Must-Have Equipment for Successful Lawn Restoration Work
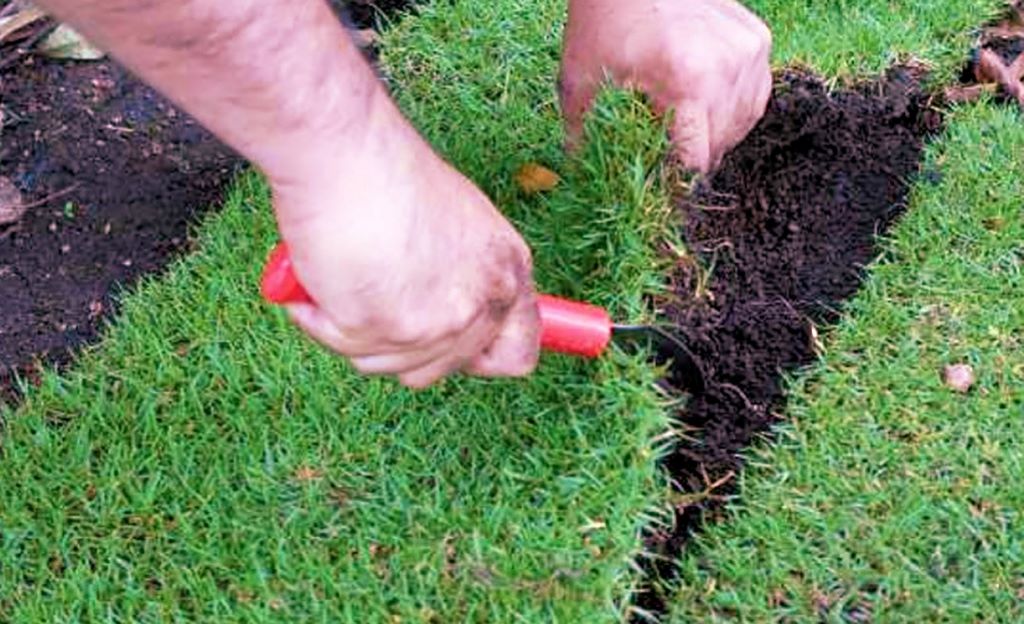
Professional-quality tools make grass repair projects more efficient and effective. A steel rake removes dead grass and debris while preparing soil for new seed. Garden spades help remove damaged sod sections and create clean edges around repair areas.
A broadcast spreader ensures even seed distribution across large patchy areas. Hand spreaders work better for small, precise applications. Quality garden hoses with adjustable nozzles provide gentle watering that won’t wash away newly planted seeds.
Selecting the Right Grass Seed and Soil Amendments
Choosing appropriate grass seed varieties ensures successful establishment in your specific growing conditions. Cool-season grasses like fescue and bluegrass thrive in northern climates, while warm-season varieties such as Bermuda and Zoysia perform better in southern regions.
High-quality topsoil or compost improves soil structure and provides essential nutrients for new grass growth. Starter fertilizer contains higher phosphorus levels that promote root development in newly seeded areas. However, soil testing determines specific nutrient needs and pH adjustments required for optimal grass health.
Step-by-Step Guide to Repairing Small Patchy Grass Areas
Preparing Damaged Areas for New Grass Growth
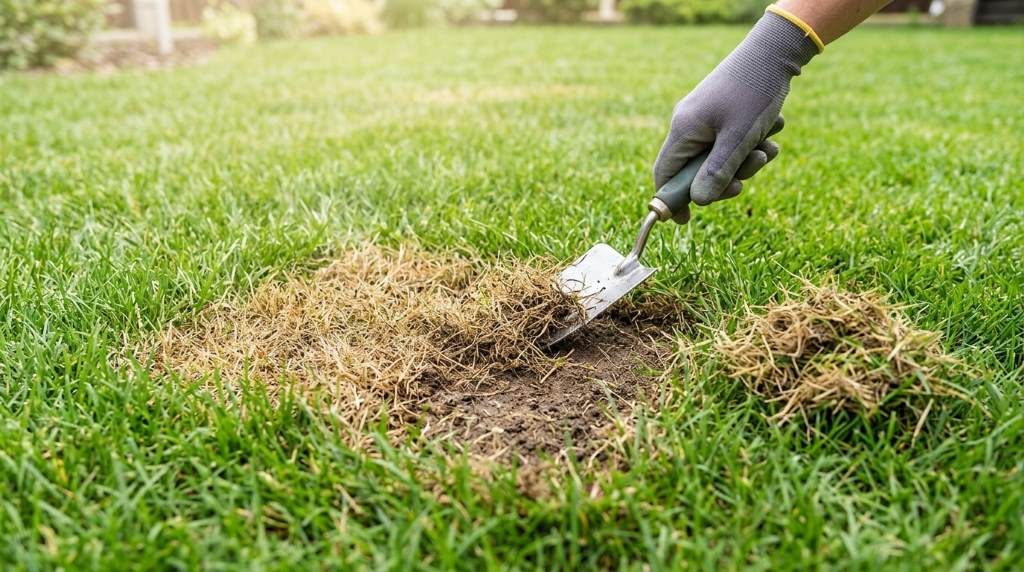
Begin by removing all dead grass and debris from patchy areas using a steel rake. Loosen compacted soil to a depth of 4-6 inches, allowing new roots to penetrate easily. Add a thin layer of compost or quality topsoil to improve drainage and provide nutrients.
Level the prepared area so it matches the surrounding lawn height. This prevents water pooling and ensures even grass growth. Rake the surface lightly to create a smooth, firm seedbed that promotes good seed-to-soil contact.
Seeding Techniques That Ensure Even Grass Coverage
Apply grass seed at the recommended rate specified on the package label. Over-seeding creates competition and weak grass, while under-seeding results in sparse coverage. Scatter seeds by hand for small areas, ensuring even distribution across the entire patch.
Lightly rake seeds into the soil surface, covering them with approximately 1/4 inch of soil. This depth protects seeds from birds while allowing adequate light for germination. Water gently immediately after seeding, keeping the soil consistently moist but not waterlogged during the germination period.
Advanced Repair Methods for Large Patchy Lawn Sections
When to Consider Sod Installation Over Seeding Options
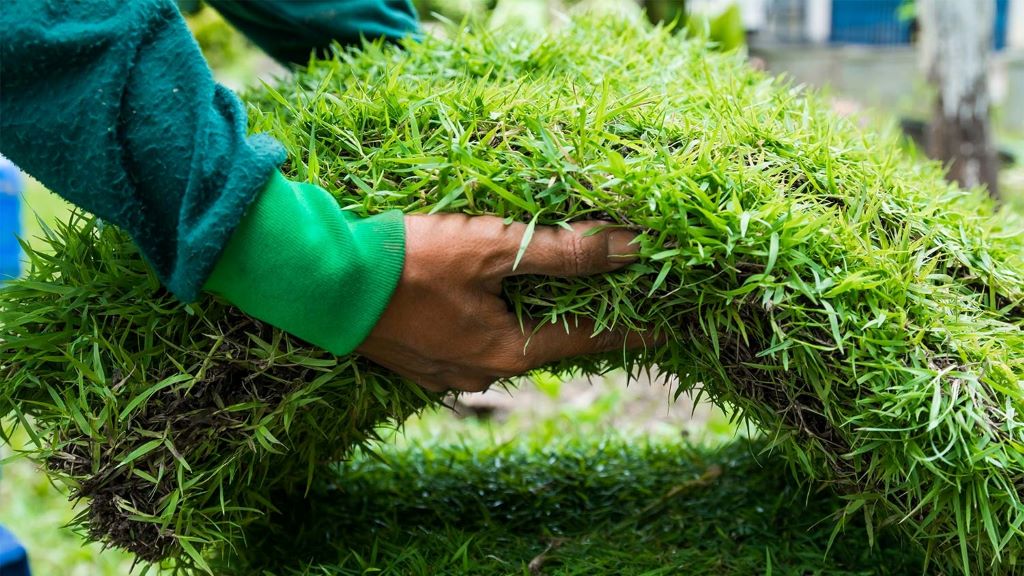
Large patchy areas covering more than 50% of your lawn often benefit from sod installation rather than seeding. Sod provides instant results and establishes quickly, making it ideal for high-traffic areas or slopes prone to erosion.
According to research by the University of California Extension, sod establishes 85% faster than seed in comparable conditions. However, sod costs significantly more than seed and requires immediate, intensive watering to establish proper root contact with existing soil.
Professional Overseeding Techniques for Extensive Lawn Damage
Overseeding involves planting new grass seed directly into existing turf without removing the old grass. This method works well for thinning lawns with 30-50% grass coverage remaining. Professional-grade slice seeders cut small grooves in the soil, placing seeds at optimal depths for germination.
Core aeration before overseeding improves seed-to-soil contact and reduces competition from existing grass. Additionally, applying a thin layer of compost after seeding provides nutrients and helps retain moisture during the critical germination period.
Timing Your Grass Repair for Maximum Success Rates
Best Seasons for Different Types of Grass Repairs
Cool-season grasses establish best during early fall when soil temperatures remain warm but air temperatures cool down. This timing allows 6-8 weeks of growth before winter dormancy. Spring seeding works as a secondary option, though summer heat stress can challenge new grass establishment.
Warm-season grasses thrive when planted during late spring or early summer. Soil temperatures above 65°F promote rapid germination and establishment. However, avoid seeding during peak summer heat, as newly planted grass requires consistent moisture that’s difficult to maintain during drought conditions.
Weather Considerations That Impact Repair Success
Monitor weather forecasts before beginning grass repair projects. Avoid seeding immediately before heavy rain, which can wash away seeds and create uneven coverage. Conversely, don’t seed during drought conditions unless you can provide consistent irrigation.
Ideal conditions include mild temperatures between 60-75°F with light, frequent rainfall or irrigation. Therefore, flexibility in timing allows you to take advantage of favorable weather patterns that promote successful grass establishment.
Proper Watering Techniques for Newly Repaired Grass Areas
Creating an Effective Irrigation Schedule for New Growth
Newly seeded areas require frequent, light watering to maintain consistent soil moisture. Water 2-3 times daily for 5-10 minutes, keeping the top inch of soil moist but not saturated. This schedule promotes germination while preventing seed displacement from heavy watering.
Gradually reduce watering frequency as grass establishes, transitioning to deeper, less frequent irrigation. Mature grass benefits from 1-2 inches of water per week, applied in one or two deep watering sessions that encourage deep root development.
Signs of Proper Moisture Levels in Repaired Patches
Properly watered soil feels moist to the touch at a depth of 1-2 inches. The surface should never appear muddy or have standing water, which indicates overwatering. Conversely, dry, crusty soil surfaces suggest insufficient moisture for seed germination.
New grass seedlings appear bright green and stand upright when receiving adequate water. Wilted, yellowing, or flat seedlings indicate water stress. Additionally, established grass in repaired areas should match the color and density of surrounding healthy lawn sections.
Fertilization Strategies That Promote Healthy Grass Recovery
Choosing the Right Fertilizer Types for Repair Projects
Starter fertilizers contain higher phosphorus levels that promote root development in newly seeded areas. Look for fertilizers with N-P-K ratios like 18-24-12, which provide balanced nutrition for establishing grass. Apply starter fertilizer at seeding time to give new grass the nutrients needed for rapid establishment.
Established grass benefits from balanced fertilizers with equal or higher nitrogen content. Slow-release formulations provide consistent nutrition over 6-12 weeks, reducing the need for frequent applications. However, avoid high-nitrogen fertilizers during summer heat, as they can stress grass and promote disease development.
Application Timing and Rates for Optimal Results
Apply starter fertilizer immediately after seeding at rates specified on the product label. Over-fertilization can burn new seedlings, while under-fertilization slows establishment. Follow up with balanced fertilizer 4-6 weeks after germination when grass shows active growth.
Established lawn areas benefit from fertilizer applications during peak growing seasons. Cool-season grasses need fertilization in early fall and spring, while warm-season varieties respond best to summer feeding. Therefore, matching fertilizer timing to grass growth patterns maximizes nutrient uptake and lawn health.
Common Mistakes That Sabotage Grass Repair Efforts
Overwatering Problems and Their Long-Term Consequences
Excessive watering creates more problems than insufficient moisture in grass repair projects. Overwatered soil becomes compacted and oxygen-poor, preventing root development. Constantly wet conditions promote fungal diseases that can kill new grass before it establishes.
Signs of overwatering include:
- Musty odors from soil
- Algae growth on soil surface
- Seedlings that appear yellow or weak
- Fungal growth around repair areas
- Water pooling that doesn’t drain within 24 hours
Poor Seed Selection That Leads to Repair Failure
Mismatched grass varieties create weak spots that develop into new patchy areas. Planting sun-loving grass in shaded areas results in thin, weak growth that easily succumbs to stress. Similarly, shade-tolerant varieties struggle in full sun conditions.
Additionally, using old or improperly stored seed reduces germination rates significantly. Seeds lose viability when exposed to heat, moisture, or freezing temperatures. Always check germination dates and store unused seed in cool, dry conditions to maintain viability for future repairs.
Prevention Strategies to Avoid Future Patchy Grass Problems
Lawn Care Practices That Strengthen Grass Resilience
Regular maintenance prevents many conditions that lead to patchy grass development. Mow at proper heights for your grass type, removing no more than one-third of blade length in a single cutting. Taller grass develops deeper roots and better withstands drought and disease pressure.
Core aeration annually relieves soil compaction and improves water and nutrient penetration. Dethatching removes excess organic buildup that harbors pests and diseases. Additionally, proper fertilization schedules provide consistent nutrition without promoting excessive growth that stresses grass plants.
Managing High-Traffic Areas to Prevent Bare Spots
Install stepping stones or pathways in areas that receive heavy foot traffic. This approach directs traffic away from grass while maintaining access to different yard areas. Create designated play areas with durable ground covers or synthetic surfaces for children and pets.
Rotate traffic patterns when possible to prevent wear concentration in specific areas. Use temporary barriers during wet conditions when grass is most vulnerable to damage. Therefore, proactive traffic management preserves grass health and prevents costly repair projects.
Troubleshooting Guide for Failed Grass Repair Attempts
Identifying Why Previous Repair Efforts Have Failed
Failed grass repairs often result from underlying soil problems that weren’t addressed initially. Compacted soil prevents root penetration and water infiltration, causing new grass to struggle regardless of care quality. pH imbalances create nutrient deficiencies that weaken grass and make it susceptible to disease.
Poor drainage creates waterlogged conditions that suffocate grass roots and promote fungal problems. Examine repair areas during heavy rain to identify drainage issues. Additionally, shade from growing trees may have increased since previous repair attempts, creating conditions unsuitable for sun-loving grass varieties.
When to Seek Professional Lawn Care Assistance
Persistent repair failures despite proper techniques may indicate complex underlying problems requiring professional diagnosis. Soil testing reveals nutrient deficiencies, pH imbalances, and contamination issues that affect grass health. Professional lawn care services have access to specialized equipment and treatments unavailable to homeowners.
Consider professional help when:
- Multiple repair attempts have failed
- Large areas continue developing new patches
- Soil or drainage problems exceed DIY solutions
- Time constraints prevent proper maintenance
- Specialized grass varieties require expert installation
Frequently Asked Questions
How long does it take for patchy grass to fully recover?
New grass seed typically germinates within 7-21 days, depending on grass type and weather conditions. Full establishment takes 8-12 weeks for most varieties. However, complete integration with existing lawn may require an entire growing season.
Can I overseed patchy areas without removing dead grass?
Yes, but removing dead grass improves seed-to-soil contact and reduces competition. Light raking to remove loose debris is sufficient for overseeding, while complete dead grass removal works better for bare patch repairs.
What grass seed works best for shaded patchy areas?
Fine fescue varieties tolerate shade better than other cool-season grasses. For warm-season areas, Zoysia and St. Augustine grass handle partial shade conditions. However, extremely shaded areas may require alternative ground covers instead of traditional grass.
How do I prevent pets from damaging newly repaired grass?
Install temporary fencing or use pet repellent sprays around repair areas. Train pets to use designated bathroom areas away from repair zones. Additionally, dilute pet urine immediately with water to minimize damage to surrounding grass.
Should I use pre-emergent herbicides on newly repaired patches?
Avoid pre-emergent herbicides on newly seeded areas, as they prevent grass seed germination along with weeds. Wait until new grass establishes and receives 2-3 mowings before applying pre-emergent treatments to surrounding areas.
Conclusion
Transforming patchy grass into a lush, healthy lawn requires patience, proper techniques, and consistent care. Success depends on identifying underlying causes, choosing appropriate repair methods, and maintaining newly repaired areas through establishment. Remember that prevention through proper lawn care practices saves time and money compared to repeated repair efforts.
The investment in quality materials and correct techniques pays dividends in long-term lawn health and beauty. Whether you choose DIY methods or professional assistance, addressing patchy grass promptly prevents problems from spreading and becoming more expensive to fix.
Take action today by assessing your lawn’s condition and planning your repair strategy. Share this article with fellow homeowners facing similar challenges, and leave a comment about your grass repair experiences. Your success story might inspire others to tackle their patchy grass problems with confidence.
Ready to transform your patchy grass into the lawn of your dreams? Start with a small repair area to build confidence, then expand your efforts as you see results. Your neighbors will wonder how you achieved such a beautiful, lush lawn!
Read More:
Lawn Care Solutions for Common Grass Problems and How to Fix Them