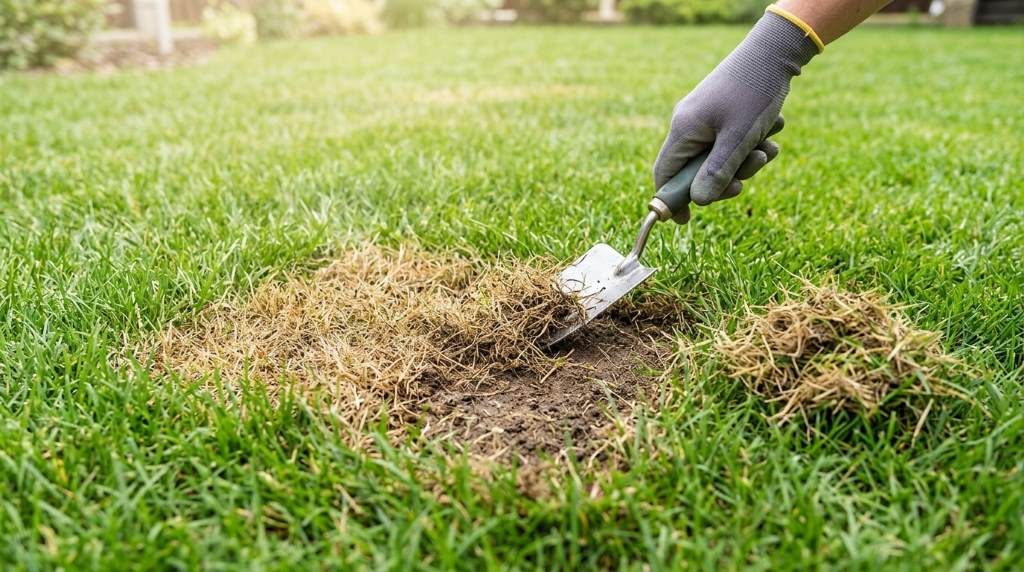

To fix dead patches of grass, first identify the cause, remove damaged turf, improve the soil, then reseed or replace it. Most repairs need consistent moisture, sunlight, and patience, with grass seed often germinating within 7 to 21 days.
Dead spots rarely appear without a reason, so simply throwing seed across brown turf can waste time and money. Instead, diagnose the problem first, then choose the repair method that matches your lawn’s actual condition.
Start By Finding What Killed The Grass
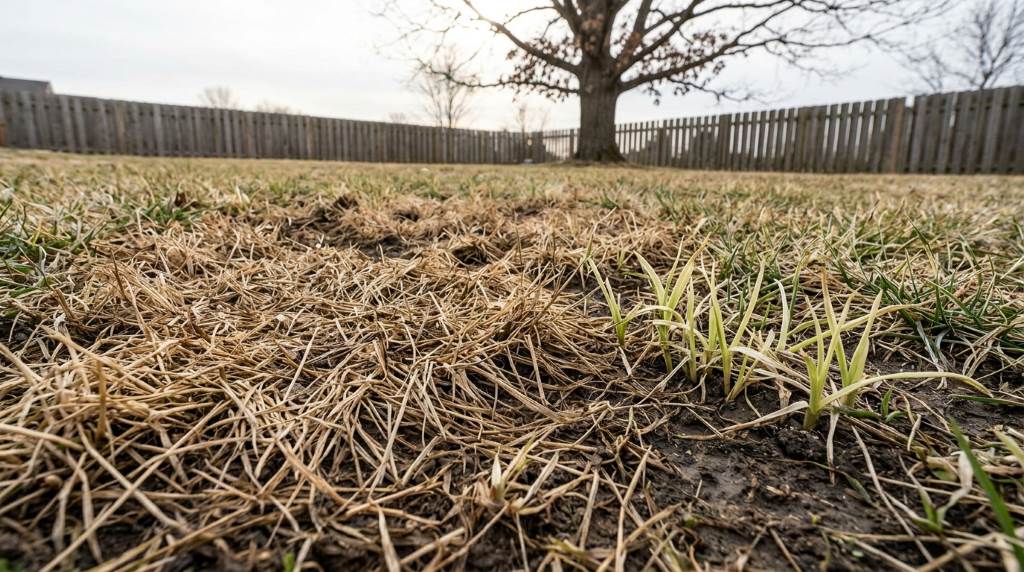
Before repairing any patch, inspect the surrounding lawn and study the damaged area closely. The pattern, color, soil condition, and location often reveal the underlying problem.
For example, circular brown areas may indicate disease, while compacted soil can create thin, struggling turf. Likewise, heavy shade, pet urine, insects, traffic, and poor drainage can produce similar-looking damage.
Use this quick diagnostic checklist:
- Pet damage: Look for small yellow or brown patches near commonly used areas.
- Compaction: Press a screwdriver into the soil and check whether it enters easily.
- Grubs: Lift a small section of turf and inspect the roots and upper soil.
- Shade: Check whether buildings, trees, or fences block several hours of sunlight.
- Drainage: Watch for standing water, muddy soil, moss, or persistently weak growth.
- Traffic: Inspect paths where people, children, pets, or equipment repeatedly cross.
Once you identify the likely cause, correct it before investing heavily in new grass. Otherwise, the same problem can quickly destroy your replacement turf.
Remove Dead Turf And Prepare The Patch
Begin repairs when the grass type and local growing conditions support active root growth. For broader lawn preparation, these chemical-free weed control practices can also help keep competing plants away.
Cut away completely dead grass with a sharp spade or garden knife. Remove the thatch, shallow roots, and loose debris until you reach reasonably firm soil.
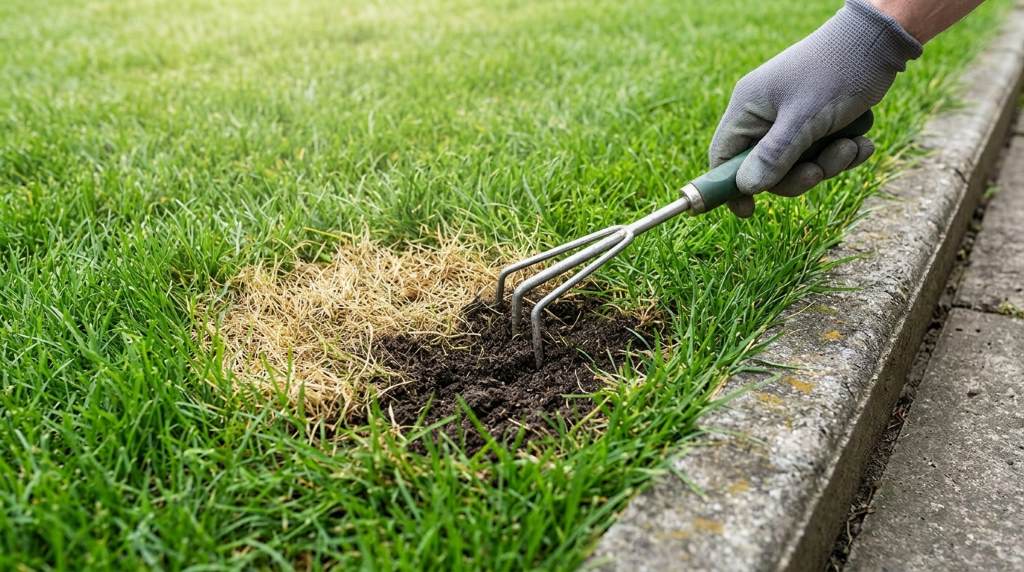
Next, loosen the exposed soil about 2 to 4 inches deep. Break apart hard clumps and remove stones, sticks, dead roots, and other debris.
Do not bury thick layers of dead material beneath fresh seed or sod. That approach can separate new roots from the soil and create uneven establishment.
For compacted areas, use a hand cultivator or core aerator to open the soil. Avoid aggressive digging when buried utility lines, irrigation pipes, or tree roots could exist.
Improve The Soil Before Planting
Healthy roots need oxygen, water, nutrients, and physical space. Therefore, improving poor soil often matters more than adding extra seed.
Spread a thin layer of quality compost over the prepared area. Gently mix it into the upper soil without creating a raised mound.
If the soil drains poorly, determine whether grading or drainage improvements offer a better long-term solution. Excess moisture can repeatedly weaken turf even after careful reseeding.
Choose Between Seed, Sod, And Plugs
Small repairs usually respond well to seed, while larger or highly visible areas may benefit from sod. After winter damage, these revive lawn after frost techniques can help guide seasonal recovery.
Choose seed when you want an economical repair and can provide consistent moisture during establishment. Select a grass seed blend that matches your existing turf, sunlight, and regional growing conditions.
Choose sod when you need immediate coverage and can prepare the soil thoroughly. Sod also works well when erosion, pets, or heavy use make slow establishment impractical.
Plugs provide another option for certain warm-season grasses. They cost less than full sod coverage but require more time to spread across the repaired area.
Match the new grass to the existing lawn whenever possible. Mixing incompatible grass types can create noticeable differences in color, texture, growth rate, and mowing requirements.
Pick Seed For The Right Conditions
Cool-season grasses generally establish best during their favorable growth periods, especially when soil temperatures support germination. Warm-season grasses prefer warmer soil and active summer growth.
Read the seed label carefully before purchasing a bag. Look for appropriate grass species, germination information, weed seed limits, and recommended application rates.
A premium-looking package does not automatically guarantee better results. The correct species and proper preparation usually matter more than marketing claims.
Plant The Grass Correctly
Spread seed evenly across the prepared patch rather than concentrating it in one area. For small spots, hand broadcasting can provide enough control.
Lightly rake the seed into the soil so it contacts the surface without becoming deeply buried. Most grass seed performs poorly when covered beneath excessive soil.
Press the area gently with a lawn roller or flat board. This improves seed-to-soil contact while avoiding excessive compaction.
For sod, cut pieces tightly and stagger the seams like brickwork. Press each piece firmly against the soil to eliminate large air pockets.
Water immediately after planting, then maintain steady moisture throughout establishment. Avoid creating puddles because saturated soil can suffocate developing roots.
Follow A Simple Watering Schedule
New seed needs consistent moisture, particularly during germination and early root development. Short, gentle watering sessions usually work better than occasional heavy soaking.
As seedlings establish, gradually reduce watering frequency while increasing the depth of each session. This encourages roots to explore deeper soil layers.
Do not let newly seeded patches repeatedly dry out. At the same time, avoid constant saturation that encourages disease and weak rooting.
Protect The Repair While It Establishes
Freshly repaired grass needs protection from foot traffic, pets, toys, and equipment. Even light traffic can disturb shallow roots or move newly planted seed.
Use temporary markers around the repaired area to create a clear boundary. Keep people and pets away until the grass develops a stable root system.
Resist the temptation to mow immediately after germination. Wait until the new grass reaches an appropriate mowing height for its species.
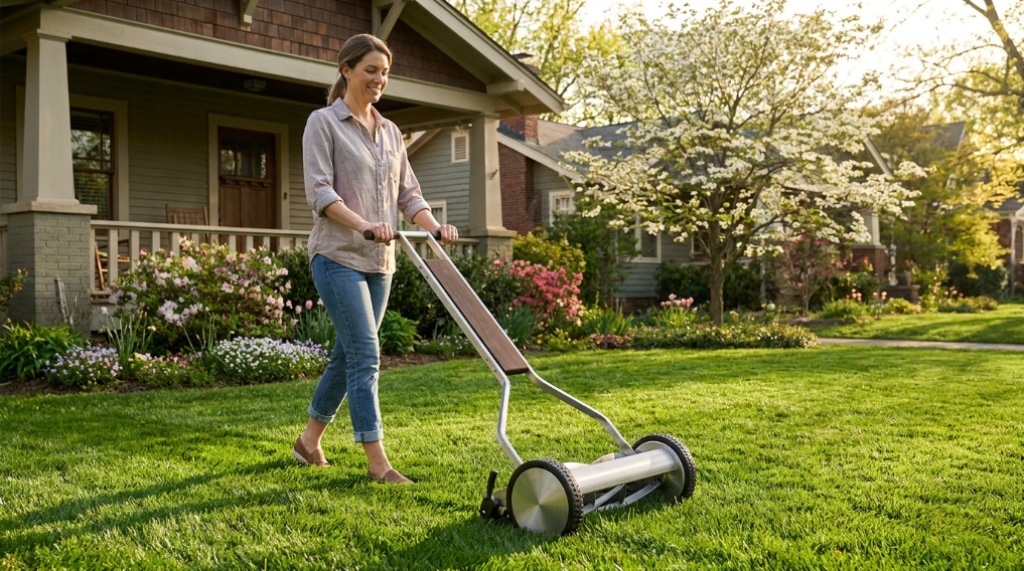
When mowing resumes, keep blades sharp and remove only about one-third of the grass height. This approach reduces unnecessary stress during establishment.
For ongoing turf health, these healthy green lawn practices can support stronger growth throughout the season.
Fix The Cause So The Patch Does Not Return
A successful repair should solve the original problem rather than merely hide its symptoms. Therefore, monitor the repaired area after new growth appears.
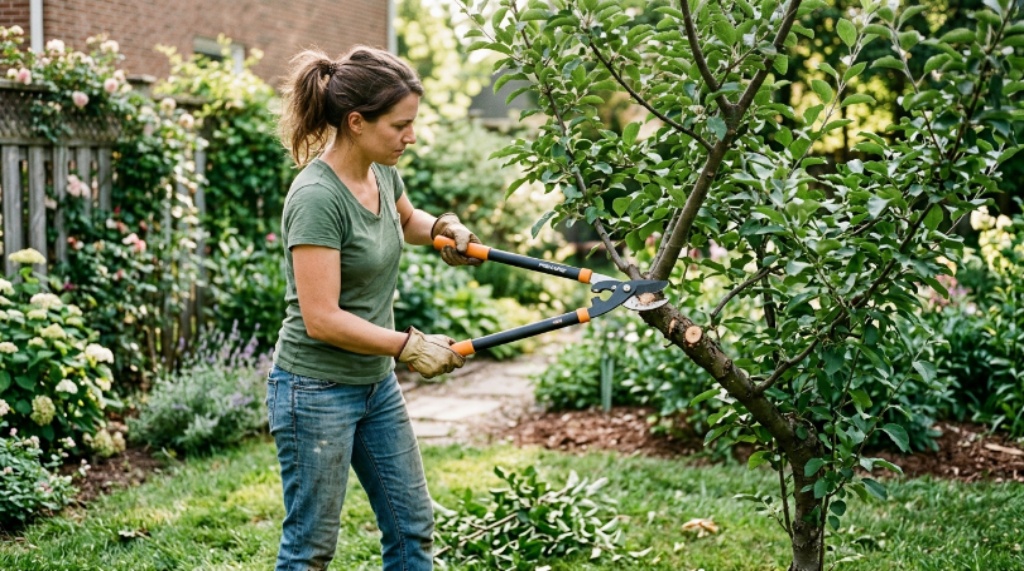
If pets caused the damage, redirect regular activity or rinse affected areas promptly. If shade caused thinning, consider pruning appropriate vegetation or choosing a shade-tolerant grass.
Compacted soil requires aeration and better traffic management. Meanwhile, drainage problems may require grading changes, amended soil, or professional drainage work.
When insects repeatedly damage the same section, inspect the turf carefully before applying any treatment. Use targeted control only when evidence confirms a genuine pest problem.
Know When Grass Cannot Recover
Some brown areas contain dormant grass rather than dead grass. Gently inspect the crown and roots before removing turf unnecessarily.
Living crowns may show green tissue near the base even when blades look completely brown. Give potentially dormant turf suitable conditions before deciding to replace it.
However, completely detached roots, rotting crowns, severe erosion, or persistent contamination can justify full removal. In those cases, starting with properly prepared soil gives replacement grass a stronger foundation.
A Practical Dead-Patch Repair Checklist
Use this sequence whenever you need to repair a bare or brown lawn section. Completing each step in order reduces wasted seed, water, fertilizer, and effort.
- 1. Diagnose: Identify shade, pests, disease, compaction, traffic, pets, water, or chemical damage.
- 2. Test: Check soil firmness, drainage, moisture, sunlight, and root condition.
- 3. Remove: Cut away genuinely dead turf and clear debris from the surface.
- 4. Prepare: Loosen compacted soil and incorporate a thin layer of suitable organic material.
- 5. Match: Select grass compatible with your existing turf and growing conditions.
- 6. Plant: Spread seed evenly or install properly fitted sod pieces.
- 7. Water: Keep the planting zone consistently moist without creating standing water.
- 8. Protect: Block traffic until roots establish firmly.
- 9. Mow: Resume mowing carefully once the new grass reaches an appropriate height.
- 10. Monitor: Watch for recurring symptoms and address the original cause promptly.
Common Mistakes That Keep Dead Patches Alive
Many lawn repairs fail because homeowners focus on the visible brown patch instead of the conditions beneath it. A better repair treats the soil, grass, moisture, and surrounding environment together.
One common mistake involves adding fertilizer immediately to severely stressed turf. Excess nutrients can damage tender roots or encourage weak growth when the real problem involves water or soil.
Another mistake involves watering every day for too long after seedlings establish. Gradually transitioning toward deeper watering helps develop stronger roots and more resilient turf.
Planting the wrong grass creates another avoidable problem. A shade-intolerant variety will continue struggling beneath trees, regardless of how carefully you seed it.
When To Call A Lawn Professional
Consider professional help when dead patches spread rapidly, return repeatedly, or cover a substantial portion of your lawn. Specialists can evaluate soil, irrigation, drainage, pests, and turf diseases more systematically.
Professional assessment becomes especially useful when several problems appear together. Correct diagnosis can prevent repeated reseeding and unnecessary chemical treatments.
Bring photographs or mark affected areas before an inspection. Documenting when symptoms appeared can also help identify seasonal patterns and environmental triggers.
Frequently Asked Questions
What is the fastest way to fix dead patches of grass?
Sod usually provides the fastest visual repair, while properly planted seed offers a more economical solution.
Can dead grass grow back on its own?
Truly dead grass cannot recover, but dormant or severely stressed grass may revive when conditions improve.
Should I remove dead grass before reseeding?
Yes, remove completely dead turf so new seed can contact prepared soil and develop healthy roots.
How often should I water new grass seed?
Water often enough to keep the seedbed consistently moist without creating puddles or saturated soil.
Why do dead grass patches keep coming back?
Recurring patches usually indicate an unresolved issue involving pests, disease, drainage, shade, compaction, traffic, or pet damage.
Conclusion
Fixing dead patches of grass starts with diagnosis, not immediate reseeding. Remove dead turf, prepare the soil, choose compatible grass, maintain moisture, and correct the original cause.
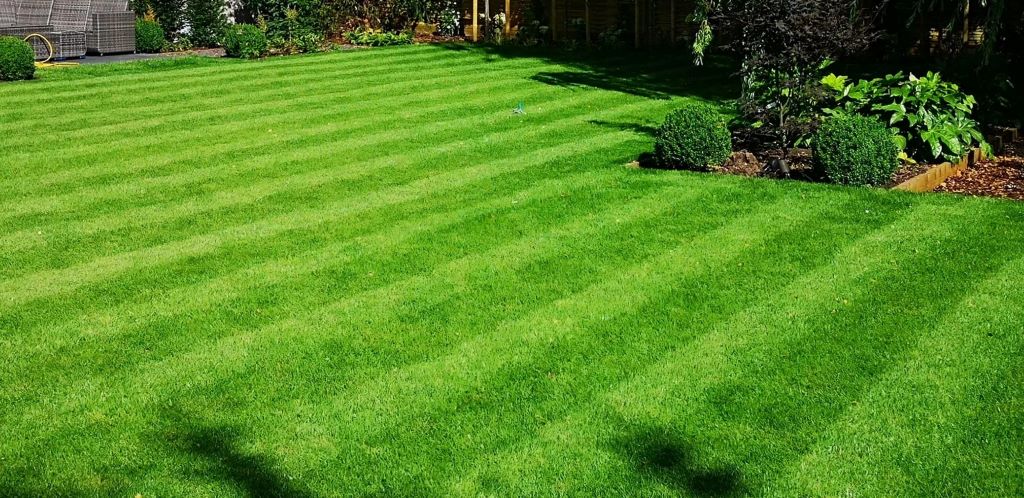
With the right repair method and consistent aftercare, small damaged areas can blend naturally into the surrounding lawn. Start by inspecting your worst patch today, then follow the repair sequence instead of treating symptoms blindly.